Support Home > Packing >
How To Ship Light Bulbs (Or Other Glass/Fragile Items)
You may one day find yourself with the need to ship something that is small and fragile, and these kinds of items can be tricky. You want to make sure you package them well enough that they are not going to get broken or damaged while in transit.
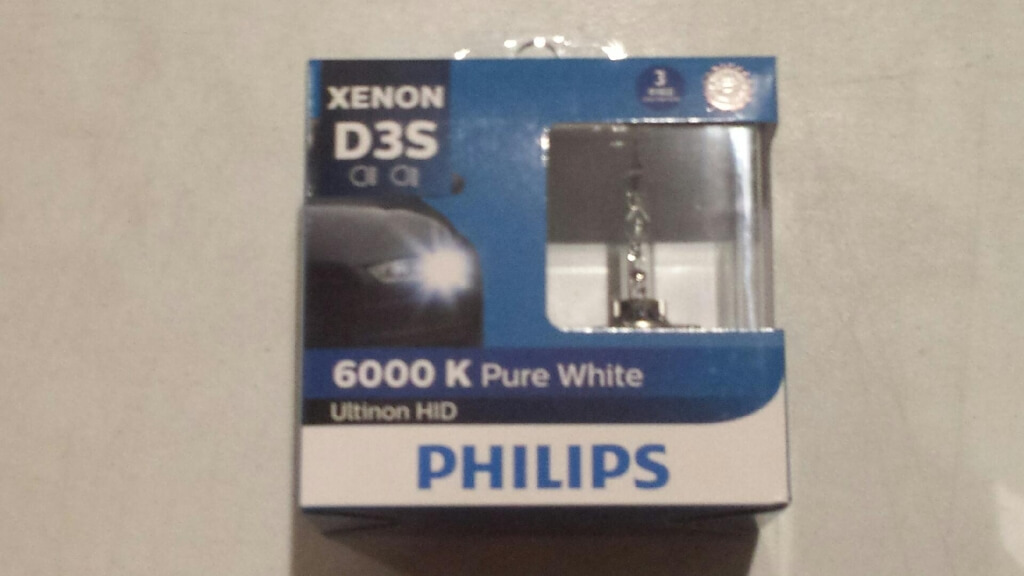
Today I’m going to walk you through the process of setting up a shipment in ShipNerd and how best to package those items to make sure they arrive safely. I’m going to use some high-end light bulbs, commonly used in luxury vehicles, but the same tips would apply to other fragile or glass items.
Packaging Light Bulbs
First, let’s start out by actually packing the items you want to ship. Once you have everything ready, you can weigh and measure your package. This will give you accurate information to use when creating your shipping label (more on that in a bit).
In general, you want to start by making sure you have the right packing supplies. You want packaging that will be large enough to hold your items, but not so large that you need to fill most of it with filler. The whole point here is to send your items – not just packing peanuts.
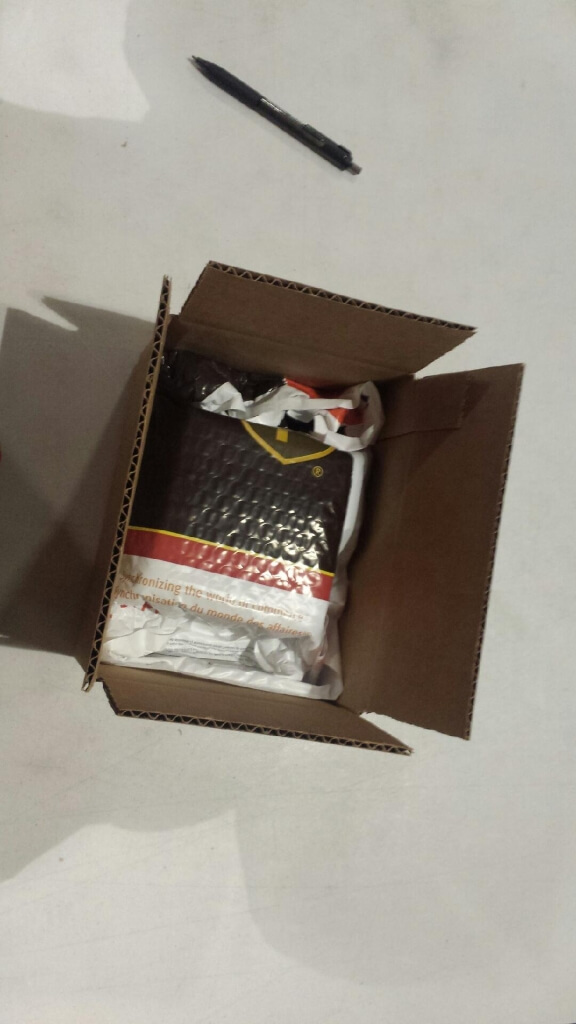
These light bulbs have sturdy packaging and are well secured inside their own box, but we still want to make sure they also stay that way throughout the shipping process.
Always keep this in mind: your package is probably not just going down the street – very likely it is going to another city or even another country, so it is going to pass through several different carrier vehicles, sorting facilities, and possibly even travel on an airplane.
Even the most secure items in their own packaging can get bounced around quite a bit on this journey, so you want to make sure you do the best job you can of packing them securely before you hand them over to the shipping carrier.
I’m going to use a plain, generic shipping box for these bulbs. It is big enough to hold them and adequate packing materials, without being so large as to be ridiculous.
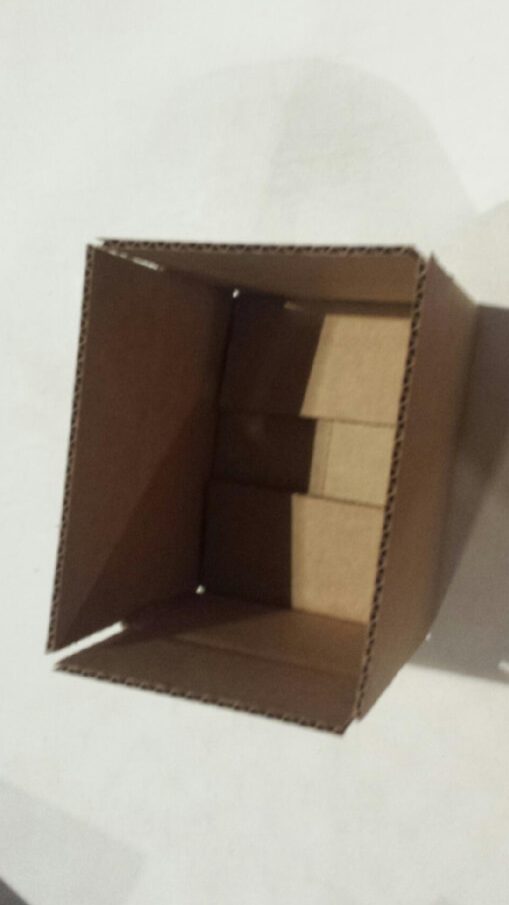
This would be fine if I was just taking the light bulbs across town, but since I am going to ship this package internationally, I’m going to give it some more padding in order to be secure.
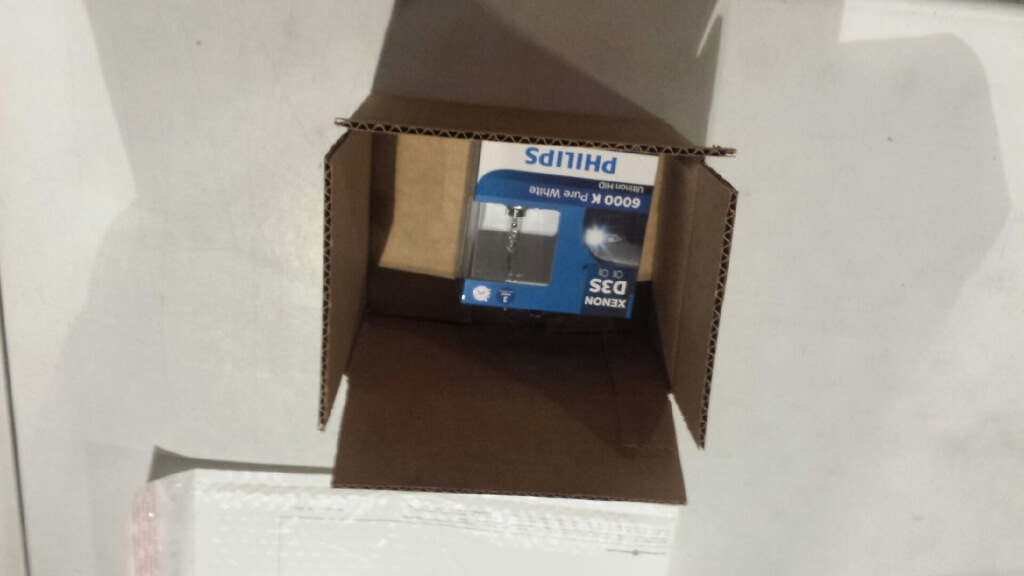
Now I’ve wrapped the light bulbs up in a padded envelope, and this is a good start. They are much more firmly seated inside the box, and the extra padding will help keep the light bulbs safe. They’re not likely to move around much, even inside the larger box.
However, there is still some more room inside this box. A bit more padding will help to keep things secure in transit, so I’ve added some more packing foam and then I’ll seal things up.
You want to make sure you fully close any box you use, to avoid things coming loose or falling out while in transit. More packing tape/materials is usually better than less, as long as you don’t end up with a whole box full of filler material. If you find yourself putting way more packing materials than items you are actually shipping in your box – look for a smaller box.
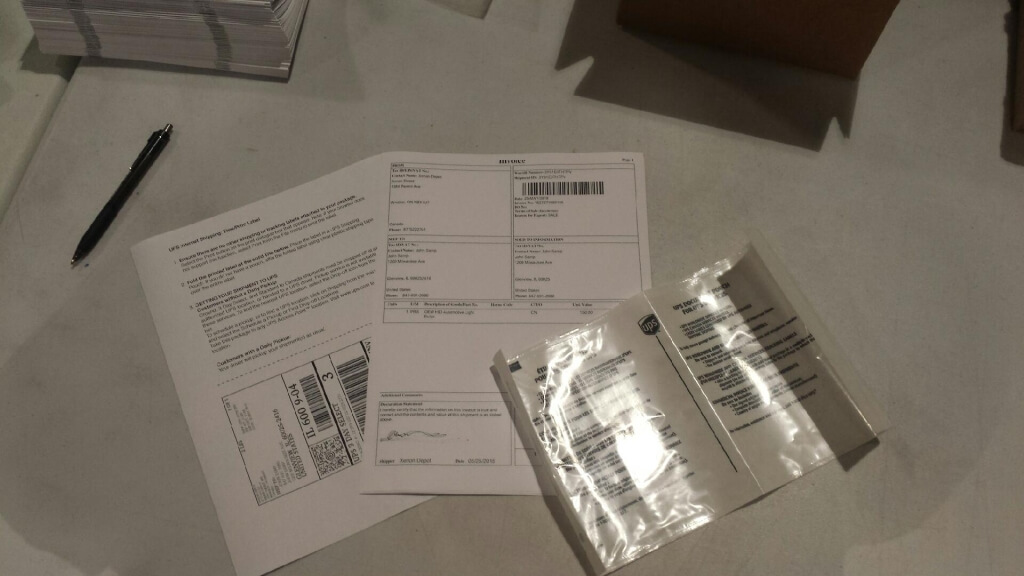
Once my package is ready to go, I need to attach my shipping documents. In this example, I’ve already created the necessary paperwork by using ShipNerd.
For an international shipment like this one, I have a shipping label and three copies of the Commercial Invoice that are needed when the package gets to Customs. These are important, because my package is going nowhere without them.
I’ll fold all those of those documents in half, stuff them in a document pouch, then stick it to the top of the package.
Now that everything is securely packaged, you’re ready to create the necessary documents (Shipping Label and Commercial Invoices, if needed) on ShipNerd.
Creating Your Shipping Label in ShipNerd
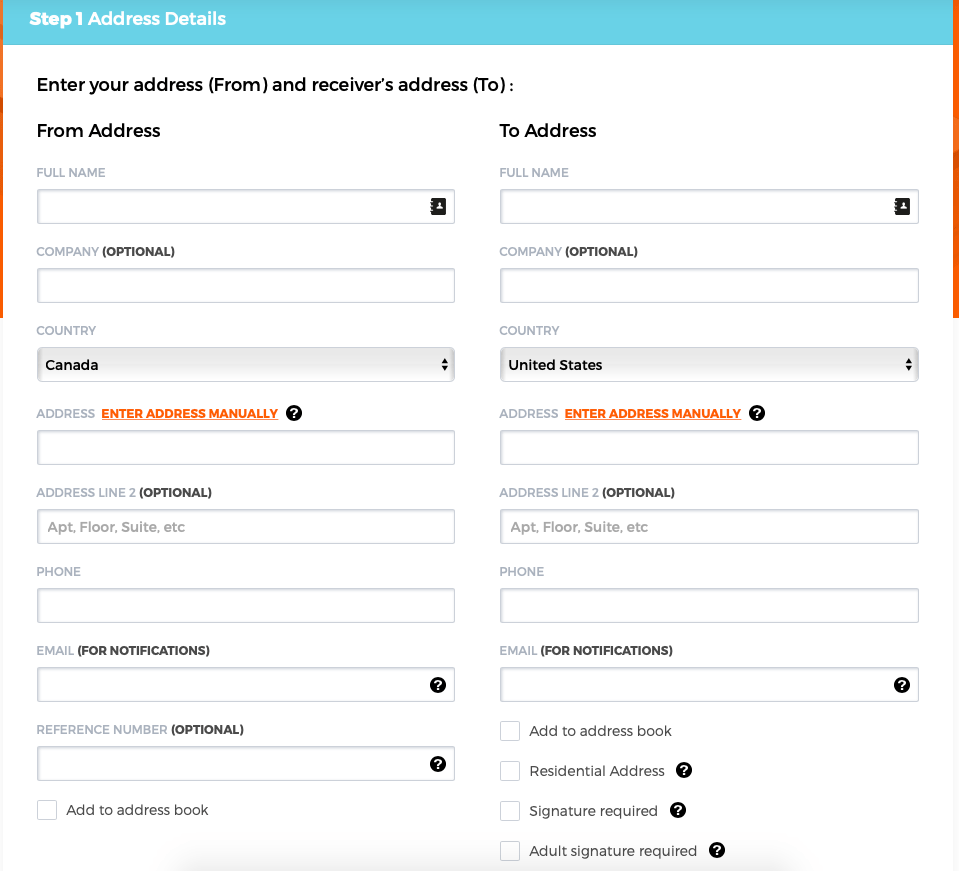
The process of setting up a shipment is both simple and intuitive. Just start by entering the Shipper and Receiver’s contact information. You can use the address validation tool to make sure there are no mixups with Zip/Postal Codes on either end of the transaction.
Make sure to enter the full address for your Receiver, including a contact phone number, in case the Shipping Carrier needs to get in touch with them at the point of delivery for some reason – ex: delays, address mixups, etc.
You will also find a Reference field that you can use for Order or PO numbers, a quick note to the receiver, etc.
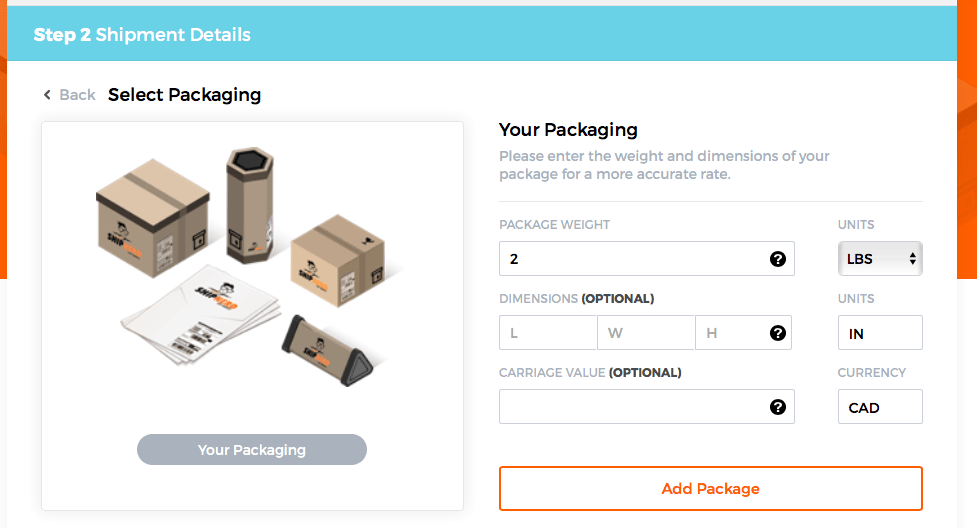
After selecting ‘Your Packaging’ (necessary because these light bulbs are not going to fit in an unbranded envelope – and we wouldn’t want to send them that way even if we could), move on to entering the rest of the details of your package.
The actual weight of the package is the only mandatory entry here, but shipping carriers are going to take the dimensions of your package into account as well. Accurately weighing and measuring your package (so you can provide those figures here) goes a long way towards providing accurate shipping rates – the quotes are generated in Real Time based on the information you enter at this stage of the process.
This is also where you can enter a value for your shipment: you’re covered for up to $100 of insurance automatically, but if that won’t cover the value of your package, make sure to enter the full value here to purchase additional insurance if needed.
- Insurance
- Make sure you are packing your items securely! You can have all the insurance in the world on a package, but if your items are just banging around in an otherwise empty box, the shipping carrier may deny an insurance claim if they are damaged while in transit.
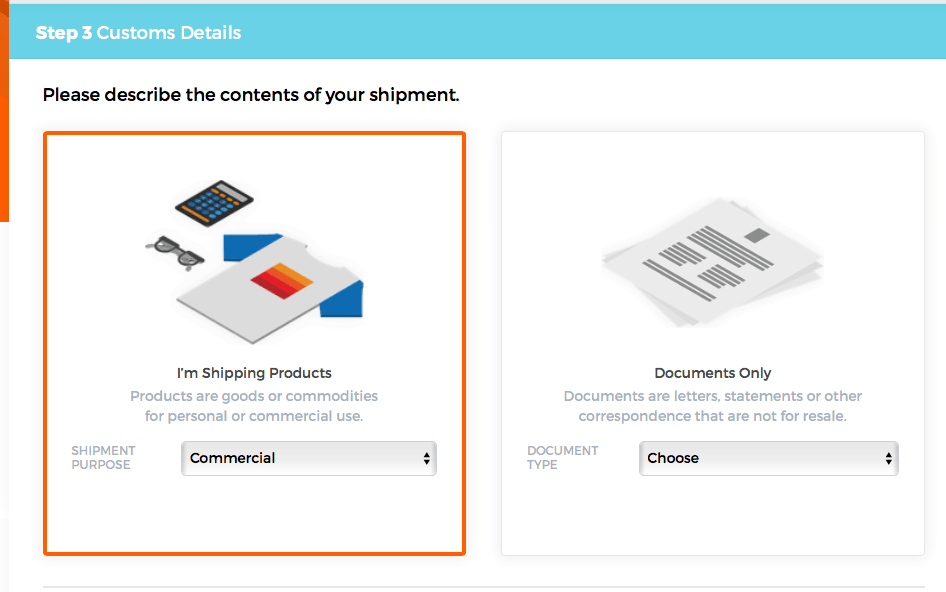
If your package is going to cross an international border, you need to include some information about what you are sending for when it gets to Customs.
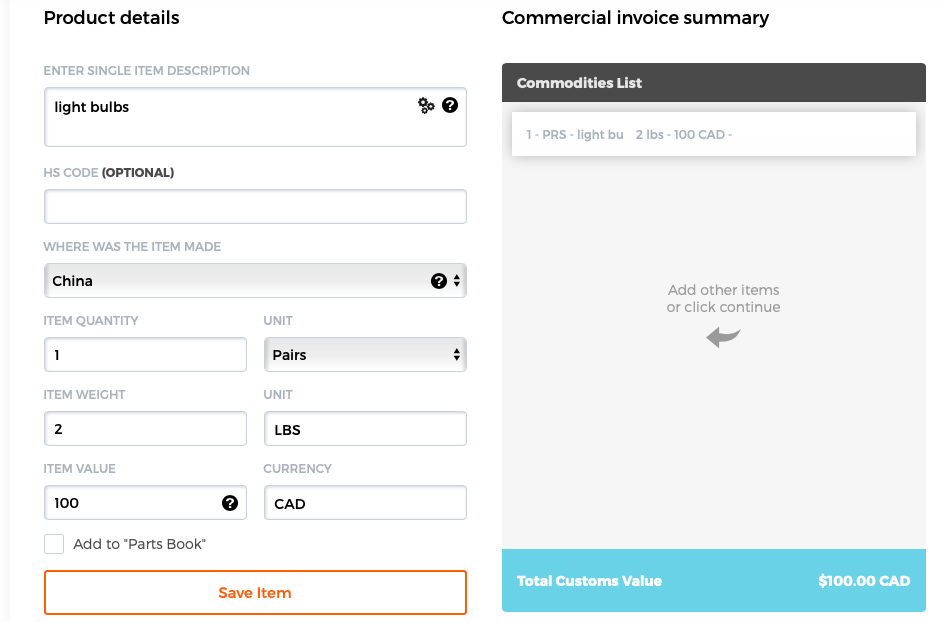
You need to include a brief description here (at least two words), the country of origin, and the value of the items. List each different type of item separately (with appropriate quantities/weights/values/etc) and click ‘Save’ to add each of them to the list. You can save the details for items you ship frequently by selecting to add them to your ‘Parts Book’.
- If your shipment contains more than one package…keep in mind that while the previous step had you list details for each package Individually, what you are doing here is building a Commercial Invoice, which will represent the Whole Shipment.
You’re almost finished! The last decision you need to make is selecting the transit time you want for your package. You will see a few different options here, depending on how far your package has to travel and the shipping services that are available to you.
‘Fast’ is typically shipping by Ground, while ‘Faster’ and above are typically shipping by Air.
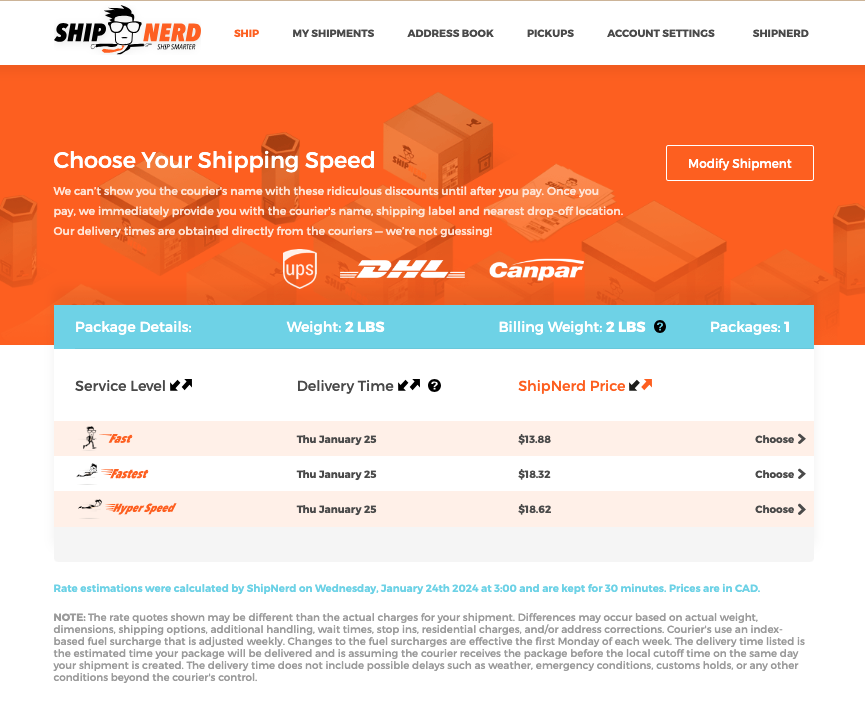
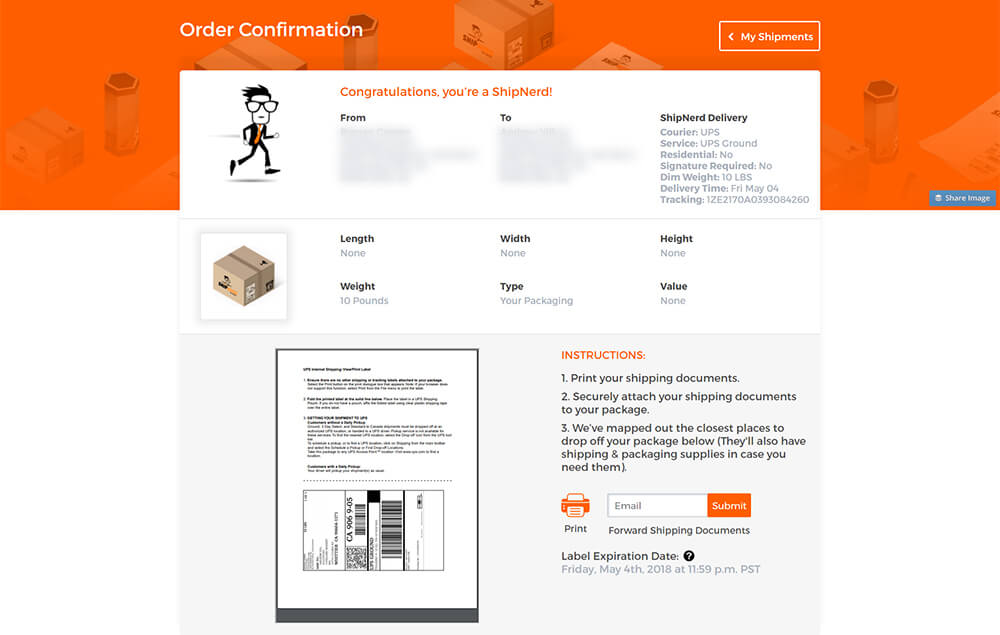
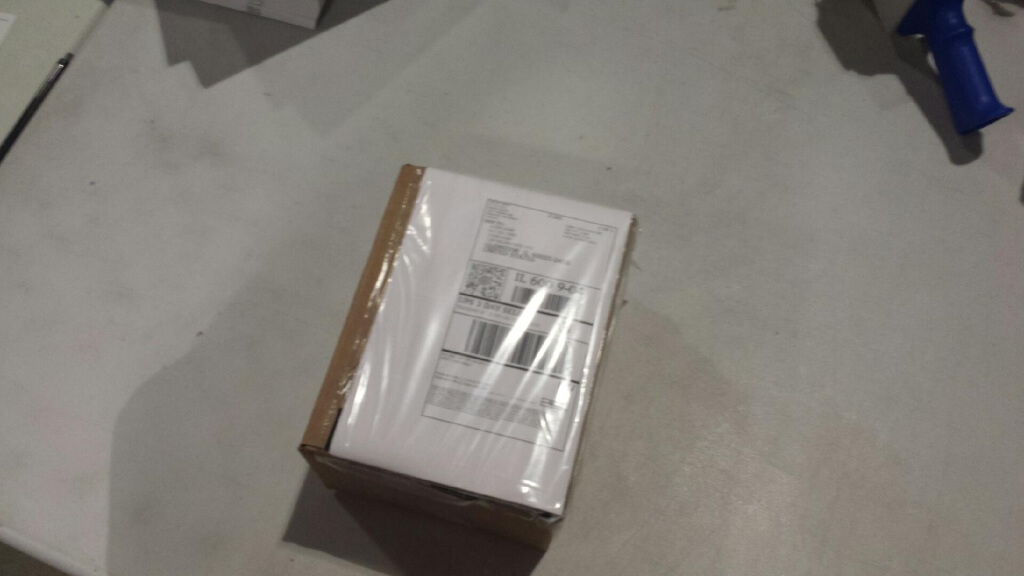
After you are select your shipping speed, you can submit your payment and print out your shipping documents. You will always have a Shipping Label, which can just be attached to the outside of your package as-is (make sure to tape this down securely), or placed in a document/waybill pouch for added security.
It’s also a good idea to print out a second copy of the shipping label and place that inside the box – if there is some sort of problem with the label on the outside, shipping carriers are trained to open up the box to see if there is a secondary copy to use.
If your package is shipping internationally, you are also going to get three copies of the Commercial Invoice that you created earlier on in this process. Make sure to print and include all of these with your label when sending this package – in these cases, you are best off using one of those document/waybill pouches I mentioned above. This will allow easy access to all the documents in case they need to be physically removed from your package.